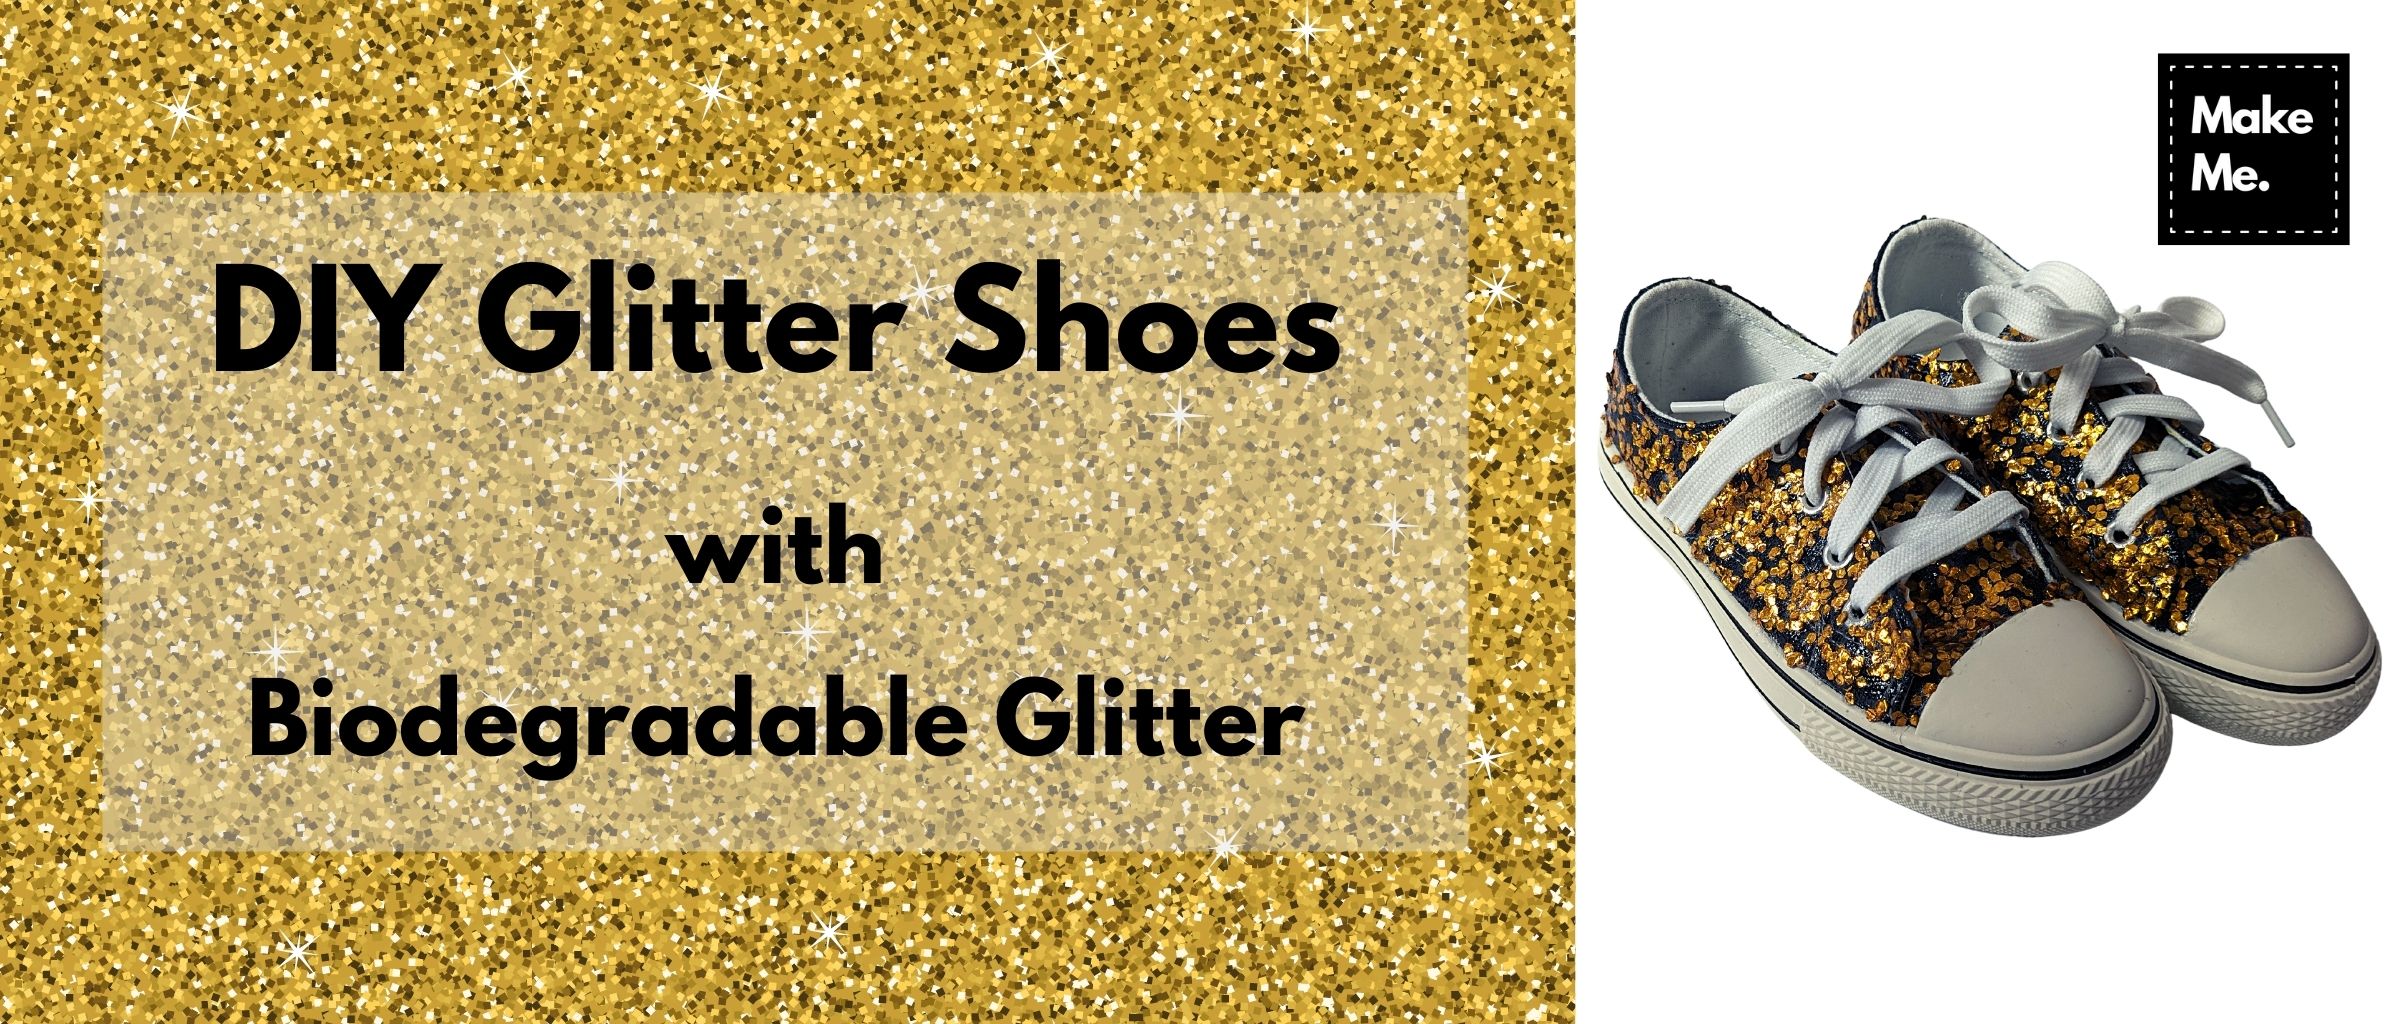
I’m a huge fan of anything sparkly or glittery. But sadly glitter is pretty bad for the environment, so I was really excited to find out some innovative companies have started producing plant-based, biodegradable glitter. My first thought was DIY glitter sneakers.
I came across NOMO on Instagram and was happy to find that they sell plant-based glitter in China. While it was sold out on Boomi, I got in touch through their website and managed to buy some (they should hopefully be re-stocked on Boomi soon). (This is not an advertisement, I’m just really excited about biodegradable glitter, especially one that I can buy in China!!)
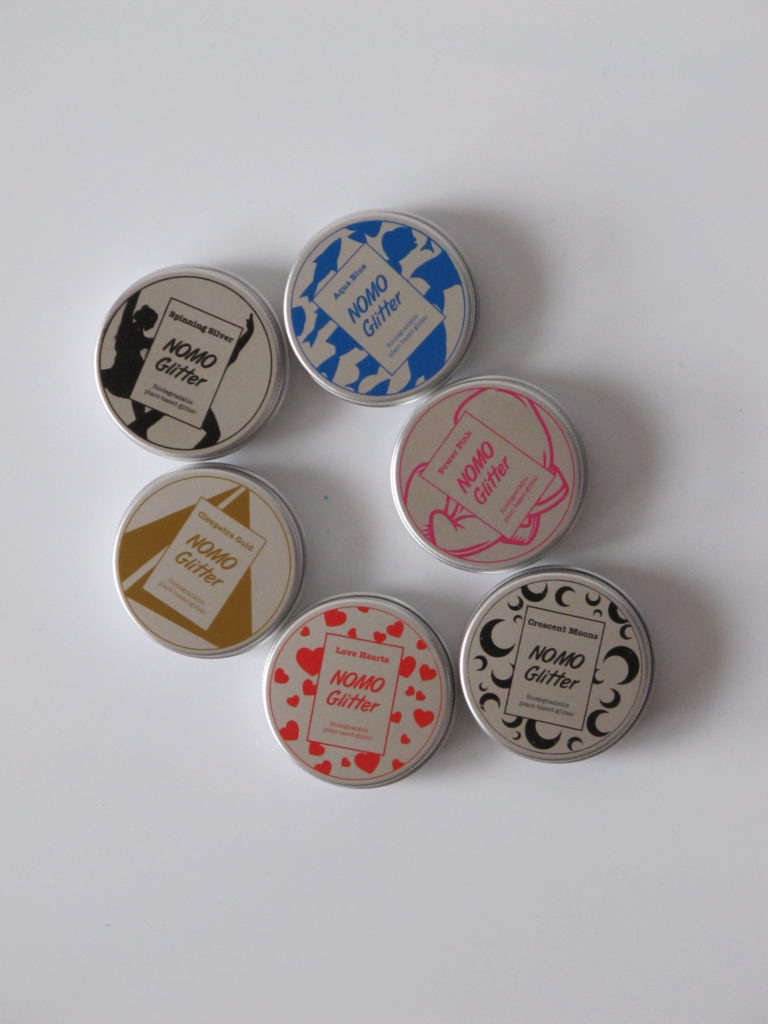
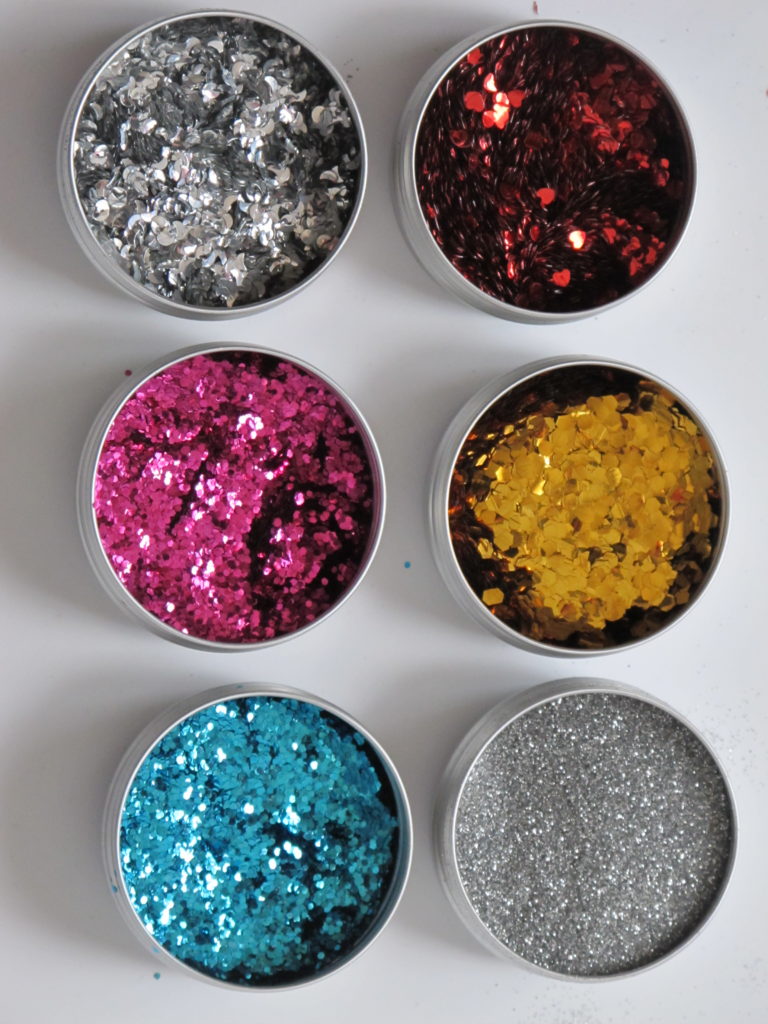
The glitter is quite soft to the touch and comes in a cute little tin. There’s a multi-pack or you can also buy the silver stars separately in China. Check the links on their Instagram account if you’re buying from other parts of the world.
I’ve always wanted a pair of glitter shoes, but as soon as the glitter arrived, my 4 year old was all over it. We decided to test it out first on her new canvas shoes since they were inexpensive and already clean. Time to make some glitter sneakers!
Here’s what you’ll need if you want to make glitter shoes:
- Glitter (try a plant-based one like NOMO if you can. I used the Cleopatra Gold [2.4mm chunky flakes] from the multi-pack)
- Canvas/fabric shoes (the shoes seen here are from Taobao available in kids’ sizes and up to a small size for women. They’re ok quality, not amazing)
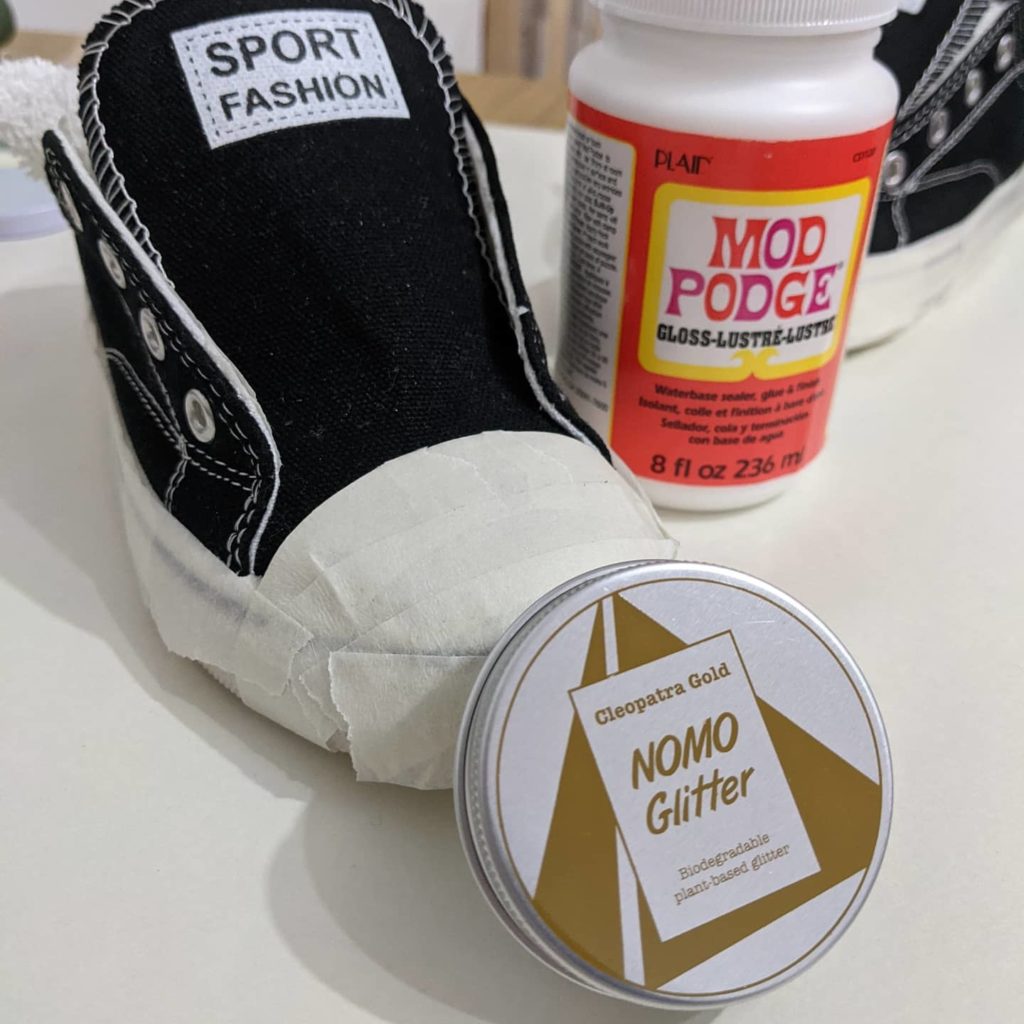
- Mod Podge (I bought the “Gloss” version from Taobao – for an adult’s pair of shoes, you’d probably need the 4oz container, but for small kids’ shoes you could probably buy the smaller size)
- A piece of cloth / newspaper / scrap paper to cover your working area
- A small dish / jar etc to mix the Mod Podge and glitter together
- A paint brush
- Masking tape (纸胶带) or painters’ tape (喷漆遮蔽胶带)
How to make your DIY Glitter Shoes
Make sure your shoes are clean (use a damp cloth to wipe down) and dry and remove any shoelaces.
Using masking tape or painters’ tape, cover any areas that you don’t want glitter on. I taped the sides of the rubber sole, the rubber toe cap, and the insides of the shoe at the top. I also put an old cloth inside each shoe to avoid any drips inside.
Since we wanted all-over glitter, we didn’t tape the outside of the fabric. But you could also just add glitter to a small area on the shoe by creating a small area surrounded by tape (such as for glitter stripes).
After setting up your work area, pour some Mod Podge into your dish or jar (about 1.5cm or half an inch for kids’ size or double that for adult size). Pour in plenty of glitter and mix well with the brush. I kept adding more glitter until the Mod Podge was well and truly full of glitter.
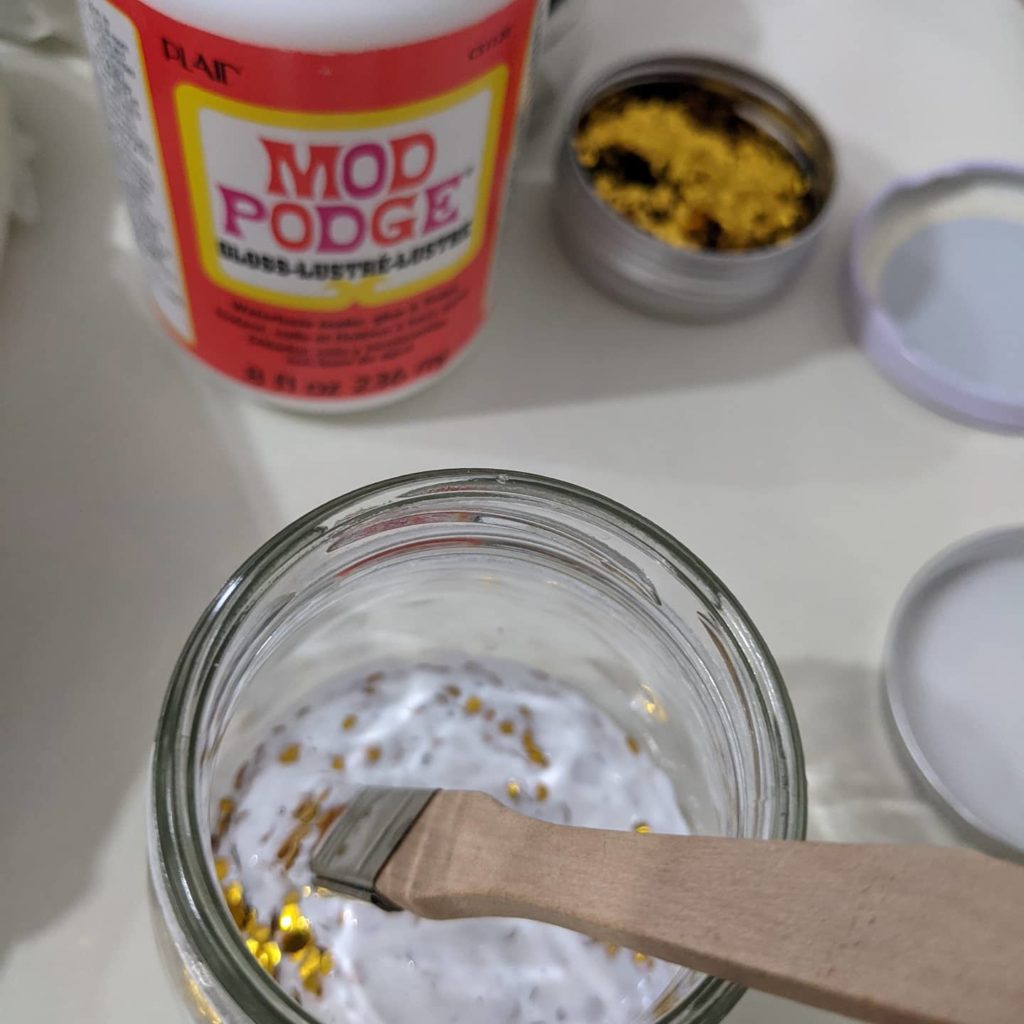
Now it’s time to paint! Give your shoes a liberal coat of the glitter mix. We painted right over the shoelace holes and simply peeled off the excess when it was dry. If you have more accurate painting skills, it will be neater to avoid the shoelace holes and eyelets.
The Mod Podge goes on white but dries clear.
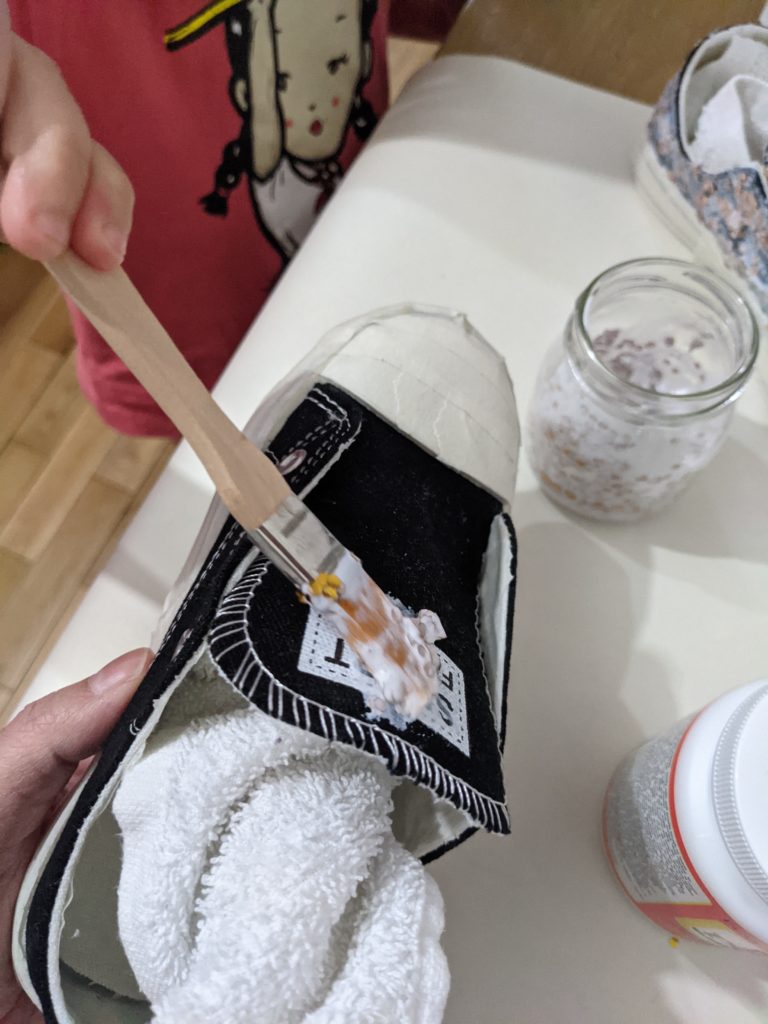
Once your shoes are well-covered, put them aside to dry. Depending on the temperature and humidity, it could take up to about a day for them to fully dry.
We decided to do a second coat after the first had dried to fill in a few gaps.

Once they’re dry and you’re happy with the level of glitter, carefully remove the tape and they should be ready to wear.
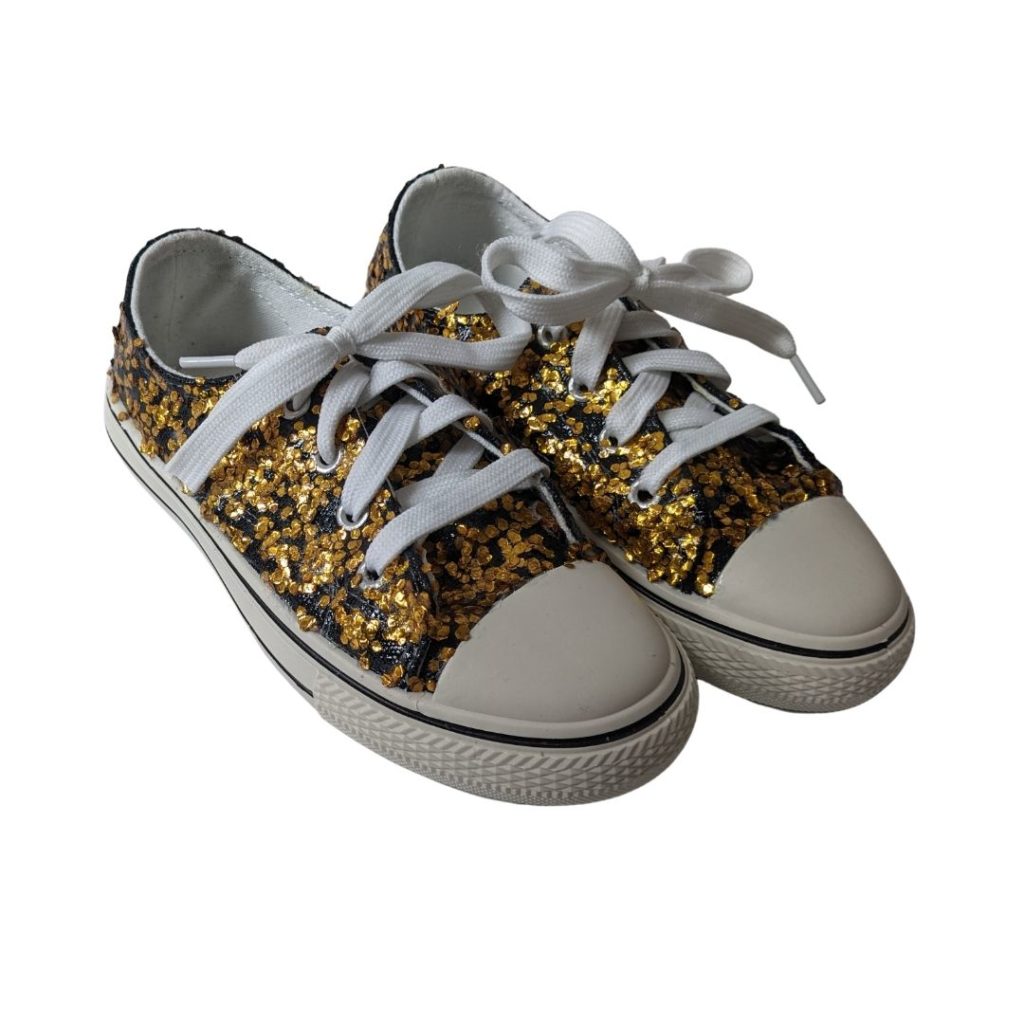
I’m really happy with how these turned out, but I’m looking forward to trying another project with some of the smaller glitter flakes, this one is quite chunky. I’m also keen to test this on leather, but that’s a whole other post. I’ll definitely be making myself a DIY pair of glitter sneakers too!
Mod Podge is water-based and non-toxic and can be cleaned up with soap and water while still wet. NOMO glitter is biodegradable, it’s recommended to use within 2 years and compost any leftovers.
Have you tried making glitter shoes or using biodegradable glitter? Do you have any tips to share?

